

When you first start getting into makeup, one thing hits you fast—there are brushes for everything. Foundation, contour, blush, brows… even ones you didn’t know existed. It can get confusing real quick. And then you end up with five random brushes, still not sure what to actually use.
Here’s the thing though: you don’t need a hundred brushes. Honestly, half the stuff influencers show off on their vanities just collects dust. What you do need is a small, smart set of tools that do the heavy lifting. That’s it.
So, if you’re staring at your mirror wondering where to even begin, this guide’s for you. It’s not just another technical “how-to.” It’s the real deal on which makeup brushes for beginners actually make a difference—and which ones you can totally skip for now.
Alright, here’s the fun part. Let’s go through the basics. You don’t need 20. You don’t even need 10 right away. These few are enough to nail most looks—natural, glam, or that in-between lazy-day glow.
If your base isn’t even, everything else just sits weird. That’s where your foundation brush comes in. Go for one that’s dense but not stiff. A flat-top or slightly rounded brush works best.
Use gentle, buffing motions instead of dragging. Start from the center of your face and blend out. And please, don’t forget your neck. (We’ve all seen those jawline makeup lines that don’t match—yeah, not cute.)
A good brush helps you get that flawless finish without using too much product.
I know, it’s not technically a brush. But if you ask any makeup lover, a beauty sponge is a non-negotiable. It’s like your blending soulmate.
Always dampen it a little—it expands, feels softer, and won’t soak up all your foundation. Use it to press product into your skin, not swipe. It gives that skin-like, seamless finish that makes people ask, “What foundation are you wearing?”
Spoiler: it’s probably the sponge doing most of the work.
This is your soft, fluffy sidekick. It’s for setting your makeup without turning your face into a floury donut. Dip lightly into powder, tap off the extra, and just swirl it over oily areas like your T-zone.
For pressed powder, small circular motions work wonders. And remember: powder’s meant to set makeup, not erase all the glow you worked for.
Blush can be tricky. Too little and it’s invisible. Too much and you’re auditioning for clown school. The right brush fixes that.
A medium-sized, slightly angled one works best—it fits your cheeks naturally. Smile a little, dab, and blend upward toward your temples. Done right, it should look like you’ve just come back from a walk, not like you’ve been slapped.
This one’s for adding structure. Go for an angled brush that’s soft but has a bit of firmness to it. Dip into bronzer or contour powder, then apply under your cheekbones or along your jawline.
And if contouring still intimidates you (totally normal), start with just bronzing—it gives warmth without the pressure of perfect sculpting.
Highlighting’s one of those things that can go from glowing goddess to disco ball real fast. A small tapered brush or fan brush does the trick.
Use it on the tops of your cheekbones, down the bridge of your nose, or right above your brows. Subtle taps, not full sweeps. You want shimmer, not shine overload.
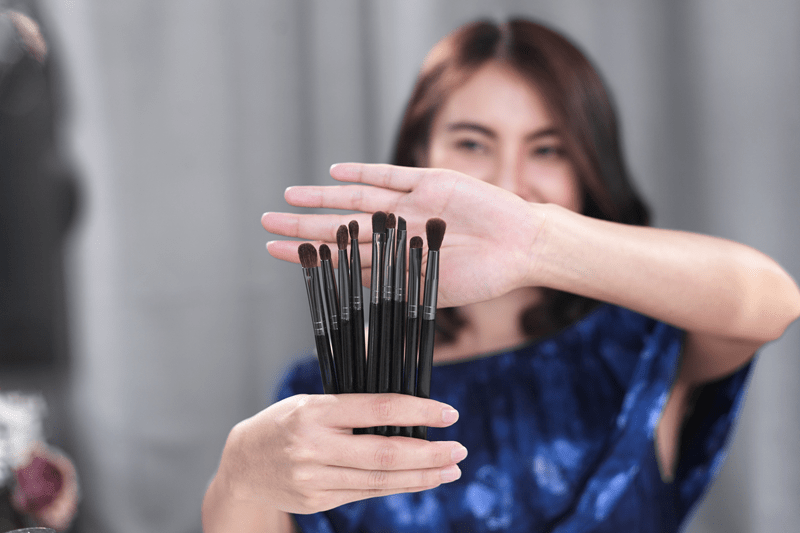
Here’s where people overcomplicate things. You don’t need ten different brushes just for eyes. Three is plenty when you’re starting out:
Start with neutral shades. Practice blending one light and one medium tone. Once you get comfortable, adding shimmer or darker colors becomes so much easier.
Brows make such a huge difference. Get an angled brush with firm bristles—it helps you define and fill in gaps cleanly. If it’s double-ended with a spoolie? Even better. The spoolie helps brush out harsh lines so everything looks soft and natural.
Not everyone uses one, but if you love defined lips (especially darker colors), this tiny brush is magic. It gives you control, lets you shape perfectly, and helps your lipstick stay longer.
It’s also great for mixing two colors together—say a nude and a berry—to make your own custom shade.
This is one most beginners forget but later swear by. A small, flat concealer brush. It’s perfect for cleaning edges—eyeliner mishaps, lipstick smudges, even sharpening your brows.
Basically, it’s your mistake eraser.
You don’t have to buy high-end right away. Plenty of affordable brands make great starter brushes. What matters is softness (scratchy bristles are a nightmare), density, and shape.
Try starting with a 6–8 piece brush set guide that covers all the basics. You can always add more later. Quality over quantity—always.
And if you’re torn between brushes, pick multipurpose ones. A blush brush can double as a bronzer brush. A small fluffy brush can blend both shadow and highlight. It’s all about experimenting.
Dirty brushes are the silent makeup killers. They can ruin your look and your skin. Product buildup clogs pores, causes breakouts, and makes colors go muddy.
Here’s how to keep things clean:
Never stand them upright while wet—it ruins the glue that holds bristles in. Think of brush cleaning like self-care for your tools.
When you’re starting out, things won’t always go right—and that’s fine. Here’s what to watch out for:
The more you practice, the faster it’ll click.
If you’re ever in a rush, here’s a five-minute, real-life routine:
That’s it. Simple, easy, and clean.
And seriously, have fun with it. Makeup shouldn’t feel like a test—it’s just color and creativity.
Learning makeup is half about products and half about tools. And your tools—your essential makeup tools—should feel like an extension of your hands. You don’t need every brush on the market. You just need ones that help you understand how makeup behaves.
Over time, you’ll figure out your favorites. Maybe you’ll fall in love with your blending brush, or maybe your beauty sponge becomes your ride-or-die. The goal isn’t perfection—it’s comfort and confidence.
So, start small. Experiment. Mess up a little (you’ll learn faster that way). And remember, the best makeup routine is the one that makes you feel good when you catch yourself in the mirror.
This content was created by AI