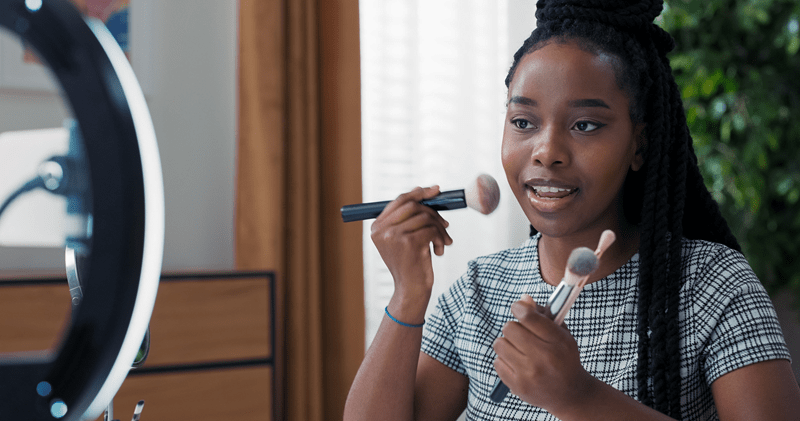
Blush is the most real of all cosmetics—it can instantly add warmth, depth, and life to skin. But getting it on just right is the real secret to flattery for your own features. Where you put your blush can be the difference between how your face looks: lifting, defining, or softening your features, depending on where you place it. This blush placement guide explains, step-by-step, how to place blush for face shape, from cream blush tips to powder blush tricks, and how to get the natural-looking flush of a rosy, healthy glow.
Everyone uses blush as an afterthought without even realizing its full potential. Blush can, when used strategically, correct proportions, add definition, and even create the illusion of higher cheekbones or a narrower face. The trick is knowing your face shape and using blush in a manner that will be kind to it.
This blush placement guide is less about following strict rules and more about finding what works for your face. Whether you prefer a subtle, peachy kiss of color or a sculpted, lifted look, the slightest placement modifications can have dramatic effects.
Don't spend a moment figuring out your face shape – spend a minute. Most people fall into one of the following categories:
Now that you've established your shape, you can utilize this blush for a face shape guide so you can achieve balance and highlight your best features.
Here is a quick guide.
On a round face, the goal is to add definition and the illusion of a slightly longer, more chiseled shape.
To apply blush naturally, have a fluffy brush and brush upwards. To apply cream blush, press your fingers diagonally to deliver a lifted, dewy flush of rosy color.
Oval faces are the most symmetrical shape, so the trick is to keep it symmetrical and enhance your natural frame.
Soft, pale pink light adds warmth and youthful beauty. To keep the appearance effortless, try out natural blush application techniques—like tapping off the excess product from your brush before blending.
Square faces typically have angular features and sharp jawlines. The right blush placement guide can soften the edges and create a soft, rounded look.
Choose peachy or rosy shades for that natural-looking flush that will suit your features. Powdering it with blush can help the color last without sacrificing the soft, rosy finish.
The heart-shaped face boasts a wider forehead and slimmer chin, so the objective is to balance the top and bottom of the face.
Combining cream blush tips with a sheer layer of powder blush over the top provides a longer-lasting finish and helps maintain your healthy glow throughout the day.
On long or oblong faces, the aim is to make the face appear shorter and to create fullness in the cheeks.
This face shape blush technique smooths out your look while maintaining a soft, youthful, rosy glow.

Cream blush is a must-have for that dewy, skin-like look. It is best for the individual who wants a naturally looking blush color and the look of a healthy, rosy glow as if it were coming from inside.
Some tips with cream blush for perfect results:
This two-layer approach not only creates color but sustains your pink radiance throughout the day.
While cream formulas provide sheen and adaptability, powder blush is a makeup mainstay for good reason. It provides buildable color and lasts all day—great for oily or combination skin.
Powder blush is also an amazing product for contouring because it can be applied and blended with precision. To use naturally, apply with a soft, fluffy brush and tap off any excess powder beforehand.
As per your blush placement map, powder products are ideal for sculping shape and definition—especially when layered on top of cream blush for added depth. The payoff? A perfectly proportioned, lit-up rosy glow that's polished but not makeup-y.
Even the best blush for face shape technique can fall flat if the finish isn’t natural. The goal is to make it look like you’re blushing from within—not like you’ve drawn on color.
Here's the way to get perfect natural blush application:
For an ultra pro finish, layer texture—use cream blush first, set with powder blush, and finish with a light spritz of setting spray over the entire face for a fresh, dewy finish.
Even beauty enthusiasts get a few things wrong when applying blush. Here's how to avoid the most common ones:
If you go overboard, don't panic. Apply foundation or translucent powder over it to mute the color.
Blush isn't just a dash of color—it's one of the most complementary products in your cosmetics bag for bringing out your own natural beauty. If you like the delicate finish of a powder blush or the warm, sun-kissed glow of a cream blush, learning how to apply it to your specific features makes all the difference.
Use this blush placement guide to determine your ideal blush for face shape, experiment with different textures, and practice natural blush application techniques. With just a few minutes and the right strokes, you’ll have that effortless, radiant, rosy glow that lights up your entire face.
This content was created by AI